
 Get
 Shop
 Contact


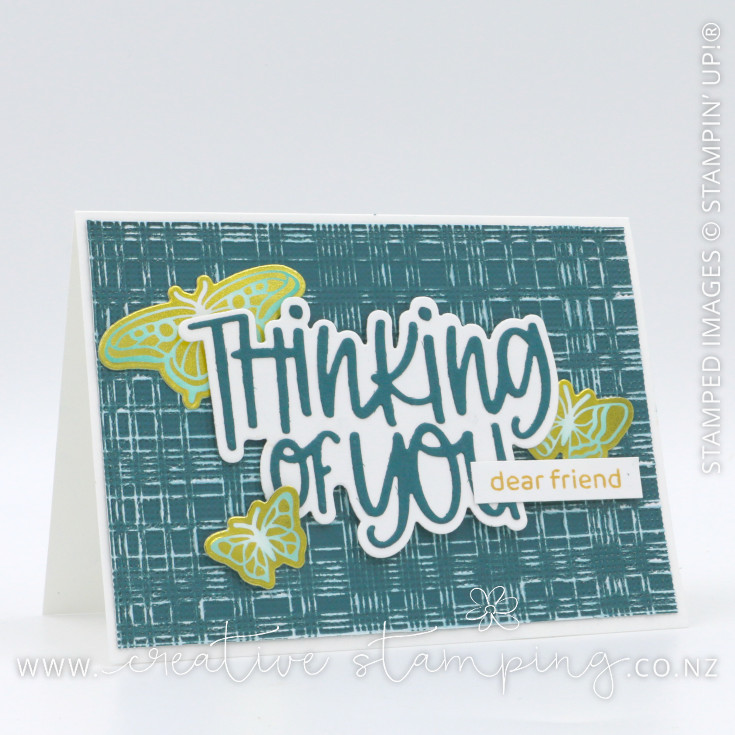
No waste here! Not only did I recycle the design principles of the Butterfly Flight Sticky Note Holder, but I also used the discarded hot-foiling from the butterflies for that project with the Reverse Hot Foil Die to create more butterflies for this “thinking of you” card…
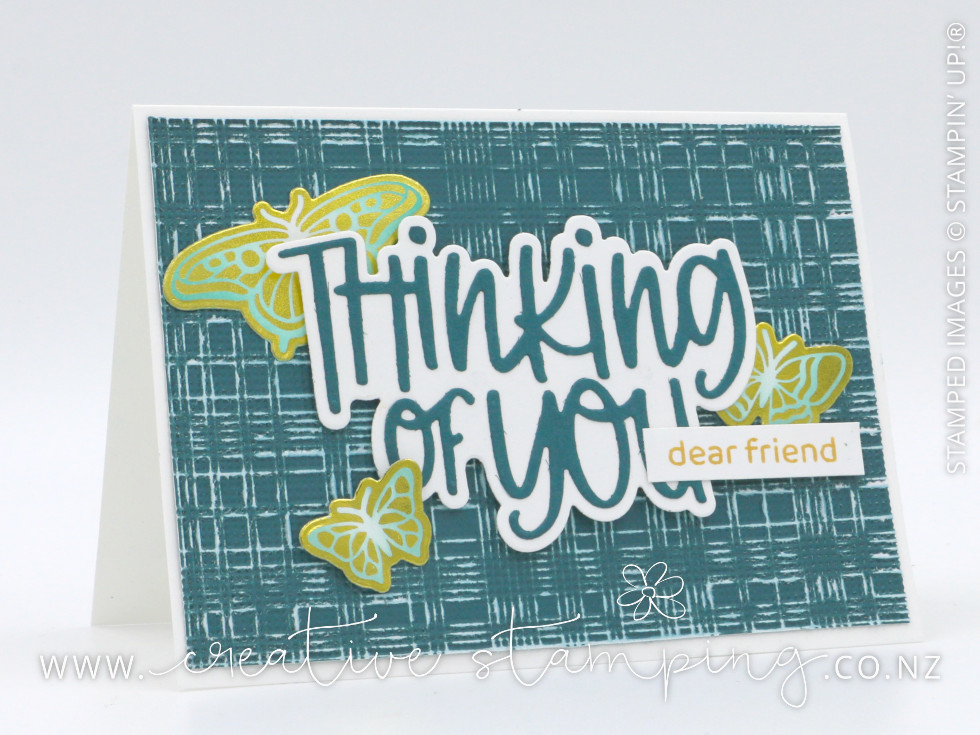
Bundles: Thinking of You Stamp Set + Thinking of You Dies (photopolymer: 168263). Ink: Pool Party (147107), Golden Glow (167676). Card/Paper: Pretty Peacock Two-Tone (166694), Pretty Peacock (150886), Basic White (166781). Accessories: Gold Stampin’ Hot Foil Rolls (170066). Tools: Stampin’ Cut & Emboss Machine (149653), Stampin’ Hot Foil System (170012), Softly Woven 3D Embossing Folder (168466), Butterfly Flight Hot Foil Dies (170045), Reverse Hot Foil Die (170043), Sanding Blocks (168533), Small Blending Brushes (160518), Adhesive Sheets (152334), Stampin’ Dimensionals (104430).
Before I get to the hot-foiled butterflies, let’s talk about the card layout. The background is the dark side of Pretty Peacock Two-Tone cardstock, which I embossed with the Softly Woven Embossing Folder. I then lightly sanded the raised surface to reveal the white core of the cardstock – such a simple but stunning effect!
The “Thinking of You” sentiment comes from the aptly named Thinking of You Bundle. To make these bold letters easy to assemble, I started by adding Adhesive Sheet behind a piece of Pretty Peacock cardstock. Once die-cut, the intricate letters were a breeze to adhere to the coordinating die-cut background. Isn’t it gorgeous?
The card was then ready for some shimmering butterflies!
Here’s how I use the handy-dandy Reverse Hot Foil Die with the negative image, or discard, from hot-foiling…
- Plug in the platform, add the Reverse Hot Foil Die, and heat your platform and die together. The Reverse Hot Foil Die needs a lot of heat to get a good transfer, so I add it to the platform right from the start.
- When the platform beeps to say it’s at temperature, build your foiling sandwich by adding the foil discard face up, then the cardstock, and finally the shim and clear plates. Press the timer button and wait for the platform to beep a second time and for all three lights to be lit.
- Unplug and roll the platform at a slow and even pace through the Stampin’ Cut & Emboss Machine.
- Peel off the clear transfer sheet from the hot-foiled image, and admire your metallic masterpiece!
I used this simple process with the Butterfly Flight foil discard and transferred the image onto Basic White cardstock. I then die-cut the butterflies and finished them by brushing Pool Party ink across their wings with a Small Blending Brush.
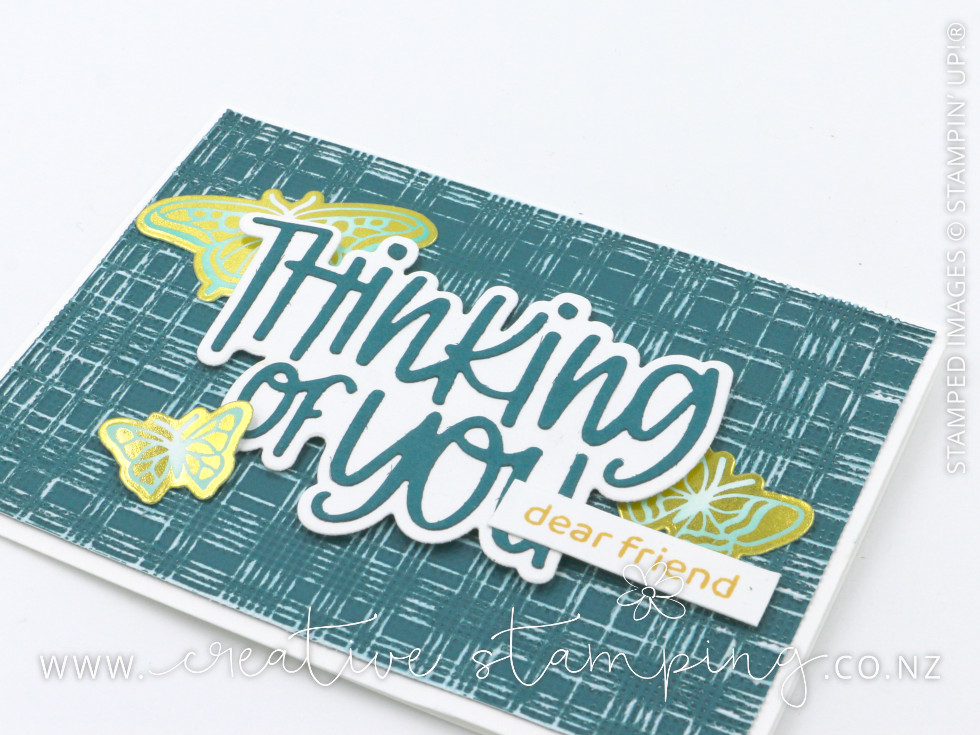
If you already enjoy hot-foiling, the Reverse Hot Foil Die is a must-have. Every foiling session leaves you with a negative image that would usually be tossed aside – with this die, it becomes a second set of shimmering elements or a wonderful background from the very same piece of foil.
All orders over $40 earn Stampin' Rewards!
Order $150 or more and unlock the Product of the Month.